

Before you start creating a PCB layout, there are several things that you need to know. This article will discuss a few things that you should keep in mind to make the PCB layout more compact. In addition, you will also learn about Soldering components to ground planes. You can also find tips on how to avoid crossing nets. Read on for some helpful tips! Listed below are some of the top considerations when designing a PCB.
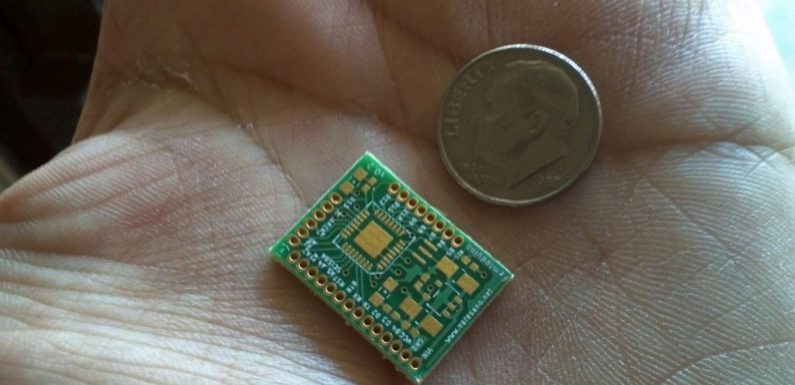
Adding more layers makes the PCB more compact
When designing a PCB, the number of layers will depend on the complexity of the design and the power levels. The more layers, the more expensive the PCB will be and the more tracks it will accommodate. Before finalizing the number of layers, it is important to know exactly what the application will be. For instance, a PCB for a mobile phone would not have many layers, but a PCB for a high-tech laptop might require up to four layers.
Avoiding crossing nets
In a printed circuit board design, avoiding crossing nets is crucial. The nets on your PCB board design must be connected correctly. This is critical in both the schematic and the board layout. Incorrectly routed nets can hinder your product’s development. Not only do these mistakes increase your cost and turnaround time, but they can also result in product failure. To avoid this problem, highlight all of your nets in the schematic and board layout.
Soldering components to ground planes
CAD methods allow you to create a PCB ground plane using a design tool. There are two types of special attachments available: flood and thermal relief. These are both designed to make the soldering process simpler. Make sure to use the appropriate appliances when designing your ground plane PCB. Here are some of the most important features to consider when designing your ground plane PCB.
Soldering components to soldering terminals
Soldering components to soldering terminal in PCB board design is an important part of a circuit board’s design. When soldering components, it’s important to solder them one at a time, with the larger pieces following in sequence. This way, the board will remain balanced and flat. If soldering is difficult, you can use acetone cleaner to remove debris from the tip.
Creating a schematic
A good starting point when creating a schematic for PCB board design is to use the IEEE standard reference designators. Generally, symbols and components are identified using capital letters. Circuitry schematics are divided into active and passive components, such as transistors and logic gates. Passive devices, such as capacitors, inductors, and transformers, can also be represented using the standard symbols. If you’re creating a complex design, you should include additional information, such as jumper status or PCB layout constraints.
Need help with your next PCB project? Check out Avanti Circuits now.